🌿 BOTANY – Green Nature v7 🌿

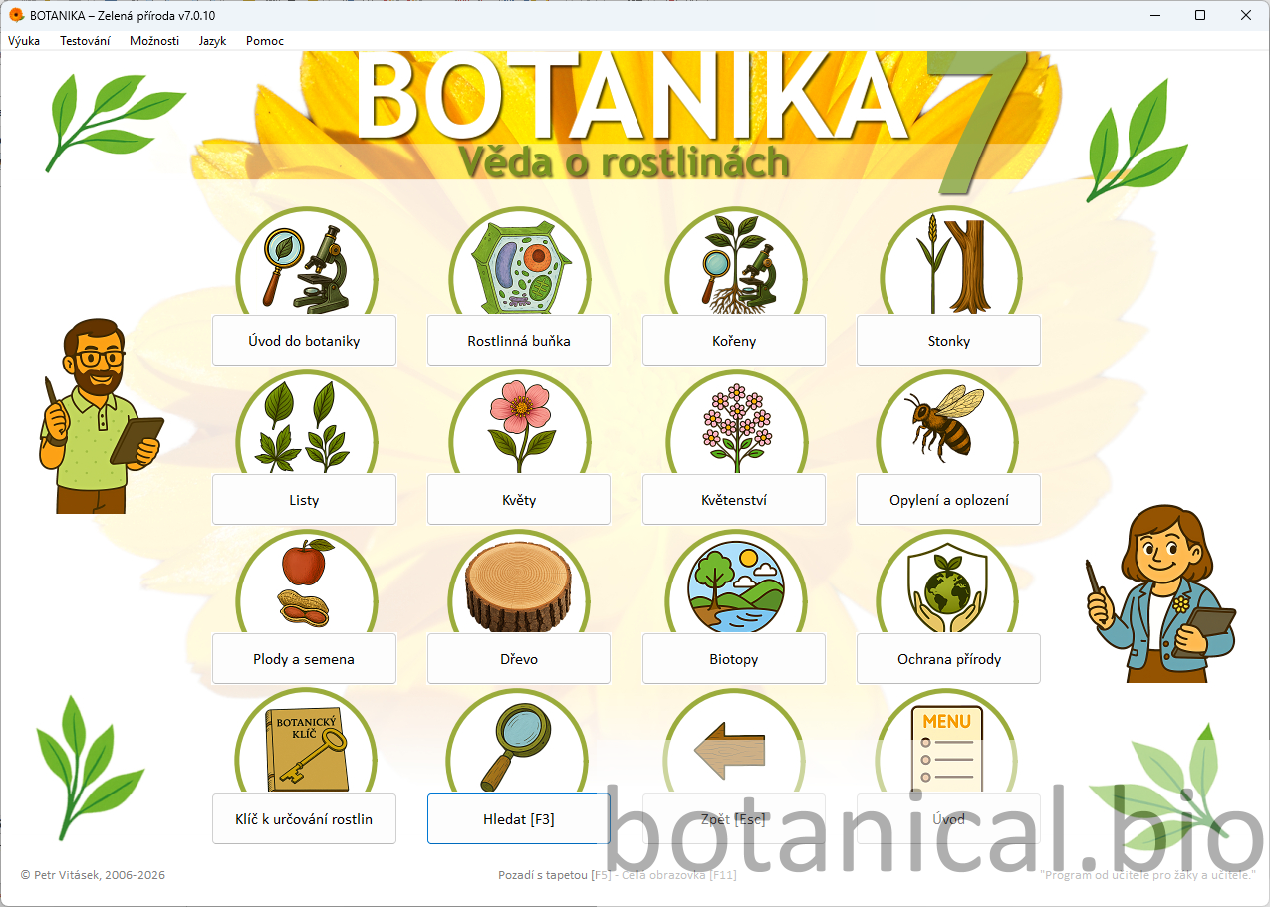
Modern educational application for Windows 10 and 11

Methodical support

Plant flowers – teaching methodology

This teaching guide demonstrates how the Botanika – Green Nature application can be used to deliver a clear and engaging lesson focused on the structure, function, and diversity of plant flowers. The lesson combines explanation, visual materials, practice questions, interactive activities, and final assessment within one environment.

Topic Plant flowers
Time 45 minutes
Format Explanation + practice + activity + test
Usage Interactive whiteboard and student devices

Quick start

  1. Launch the Botanika – Green Nature application.
  2. Open the section “Plant flowers” in the theory module.
  3. Follow the individual lesson phases from explanation through questions to activities and the final test.

Objectives

Flower structure

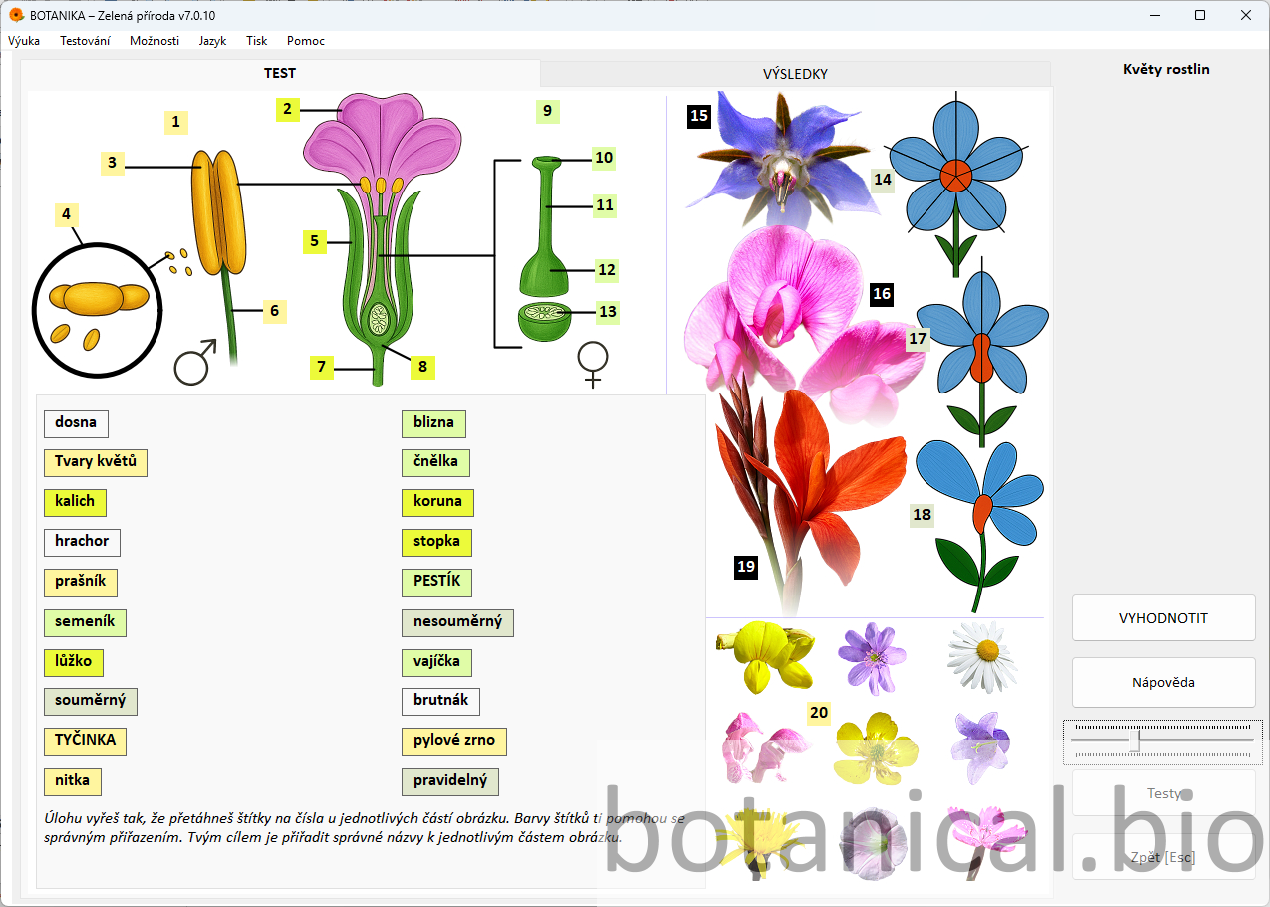
Students identify the main parts of a flower (stamen, pistil, calyx, corolla) and recognize them in a diagram or image.

Botanical terminology

Students explain terms such as stigma, style, ovary, anther, and pollen grain and understand their functions.

Diversity of flowers

Students distinguish between radial and bilateral symmetry and understand how flower shape and colour relate to pollination.

Modes

Option A – teacher-led instruction

The application is used on an interactive whiteboard or projector, and the teacher leads explanation and activities.

  • suitable for classrooms without individual devices
  • supports structured explanation and class discussion
  • effective for shared practice and guided testing

Option B – active student participation

Students work individually or in pairs on their own devices.

  • allows individual learning pace
  • supports active learning
  • suitable for practice and revision

Teacher tip

It is recommended to begin with a teacher-led explanation on the board, introduce the structure of the flower and key concepts, and then move to individual student work using questions, word searches, crosswords, or the test.

Flow

0–5 min Motivation

Introduction to the topic of flowers

The teacher introduces the lesson topic and connects it with students’ prior knowledge about plants. The discussion focuses on the role of flowers in reproduction.

  • introducing the topic
  • connecting with prior knowledge
  • short discussion
Questions:
• What is the function of flowers?
• Where have you encountered flowers?
• Why are flowers often colourful?
Option A: Guided class discussion.
Option B: Students name familiar examples of flowers.
+ Advanced: Students provide additional examples and functions of flowers.
– Support: Focus only on the basic purpose of flowers.
Plant science section overview.
Introductory screen of the flowers topic.
5–20 min Explanation

Structure of a flower

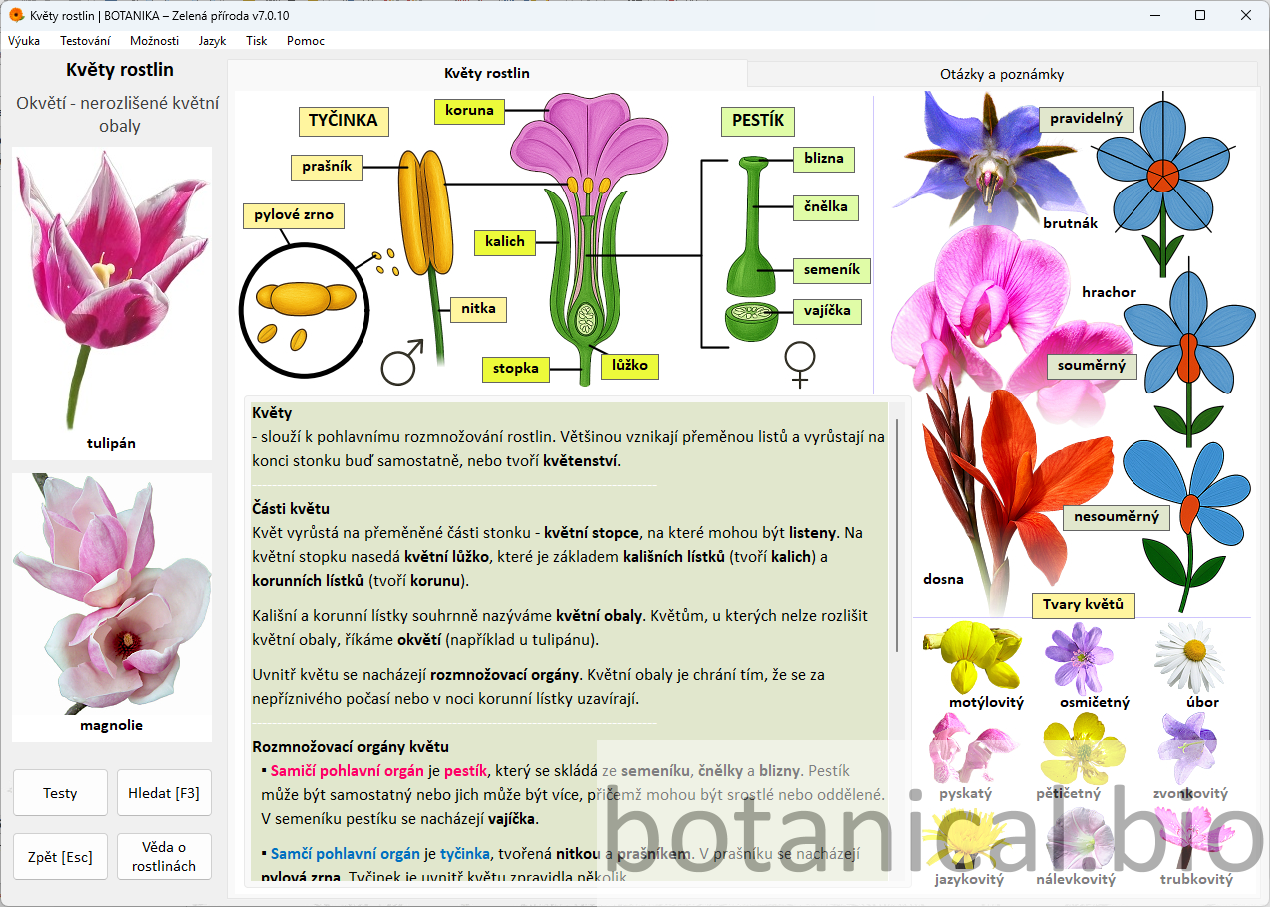
The teacher explains individual parts of a flower and their functions using a clear diagram.

  • revealing and naming flower parts step by step
  • involving students in identifying parts directly in the diagram
  • comparing different types of flowers (radial vs bilateral symmetry)
  • showing real flowers or photographs to compare with the model in the application
Questions:
• Which parts of the flower can you recognize?
• What is the function of the pistil?
• Where is pollen produced?
Option A: Guided explanation.
Option B: Students take notes.
+ Advanced: Extend with more detailed functions of individual parts.
– Support: Focus only on the basic terms.
Diagram of flower structure.
20–25 min Practice

Questions and notes

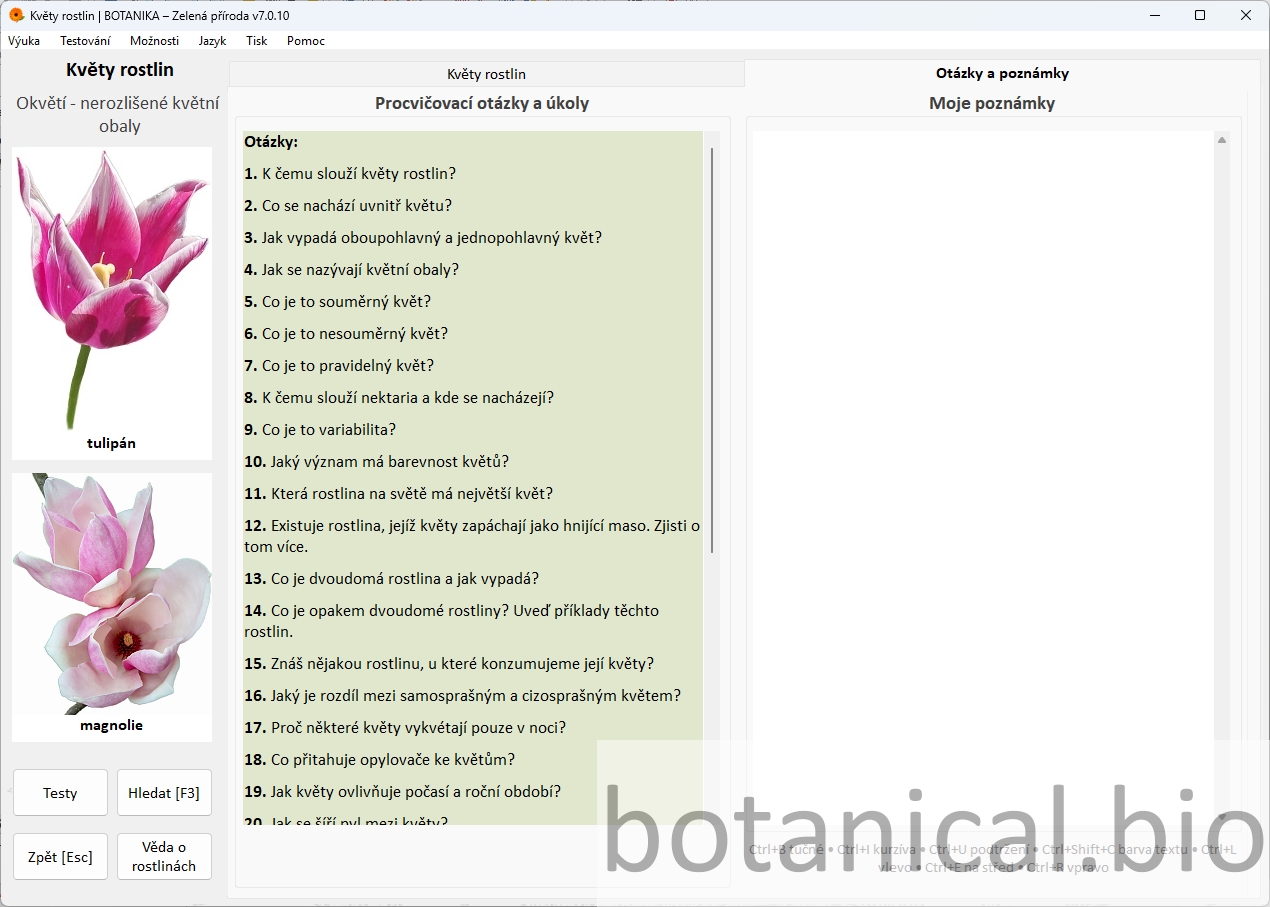
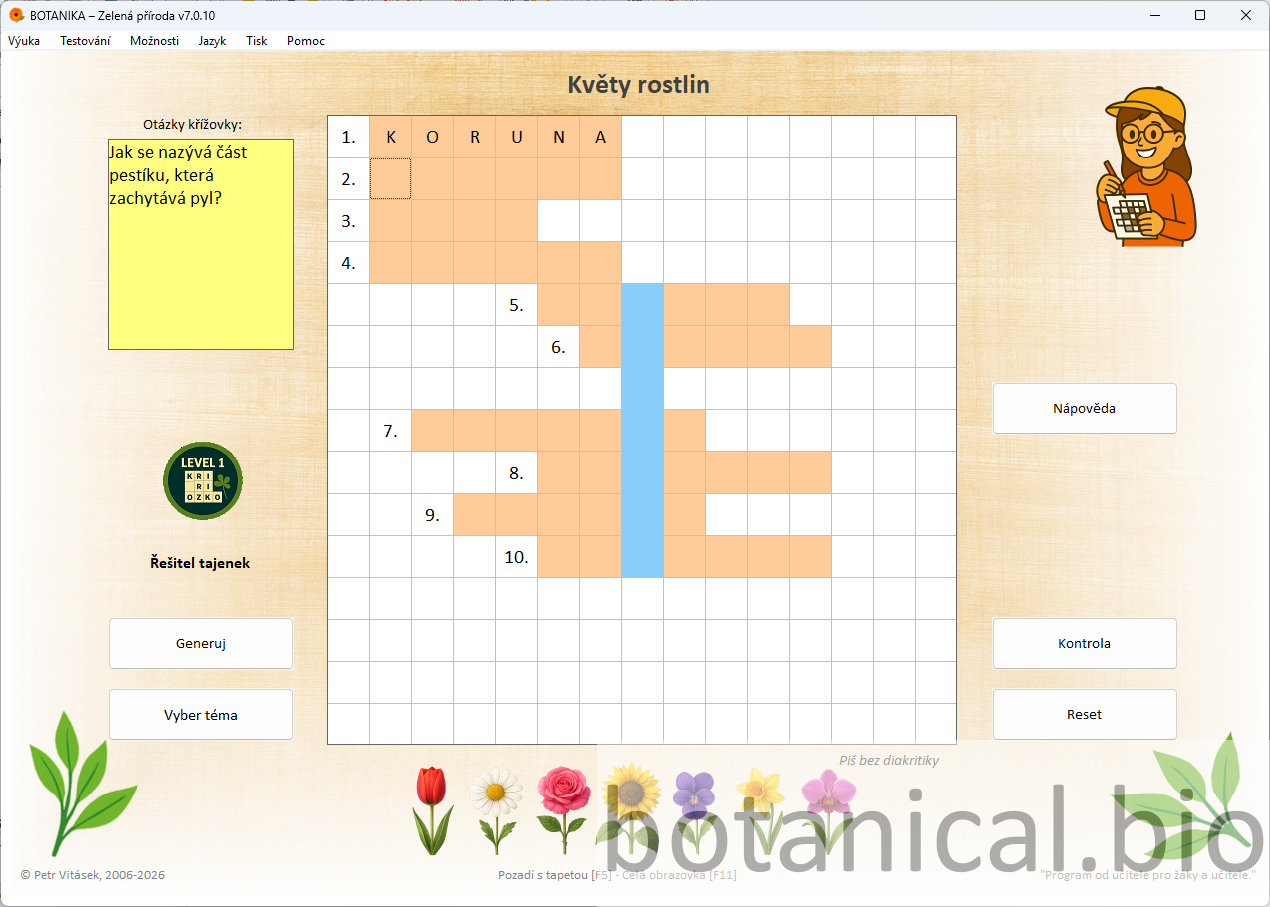
Students reinforce key concepts through guided questions.

  • selecting key questions
  • formulating answers
  • summarising responses
Questions:
• What is a stamen?
• What does flower symmetry mean?
• Why are some flowers colourful while others are not?
• How does flower shape relate to pollinators?
Option A: Whole-class discussion.
Option B: Independent work.
+ Advanced: Students create their own questions.
– Support: Solve questions together.
Practice questions.
25–35 min Interactive practice

Word searches and crosswords

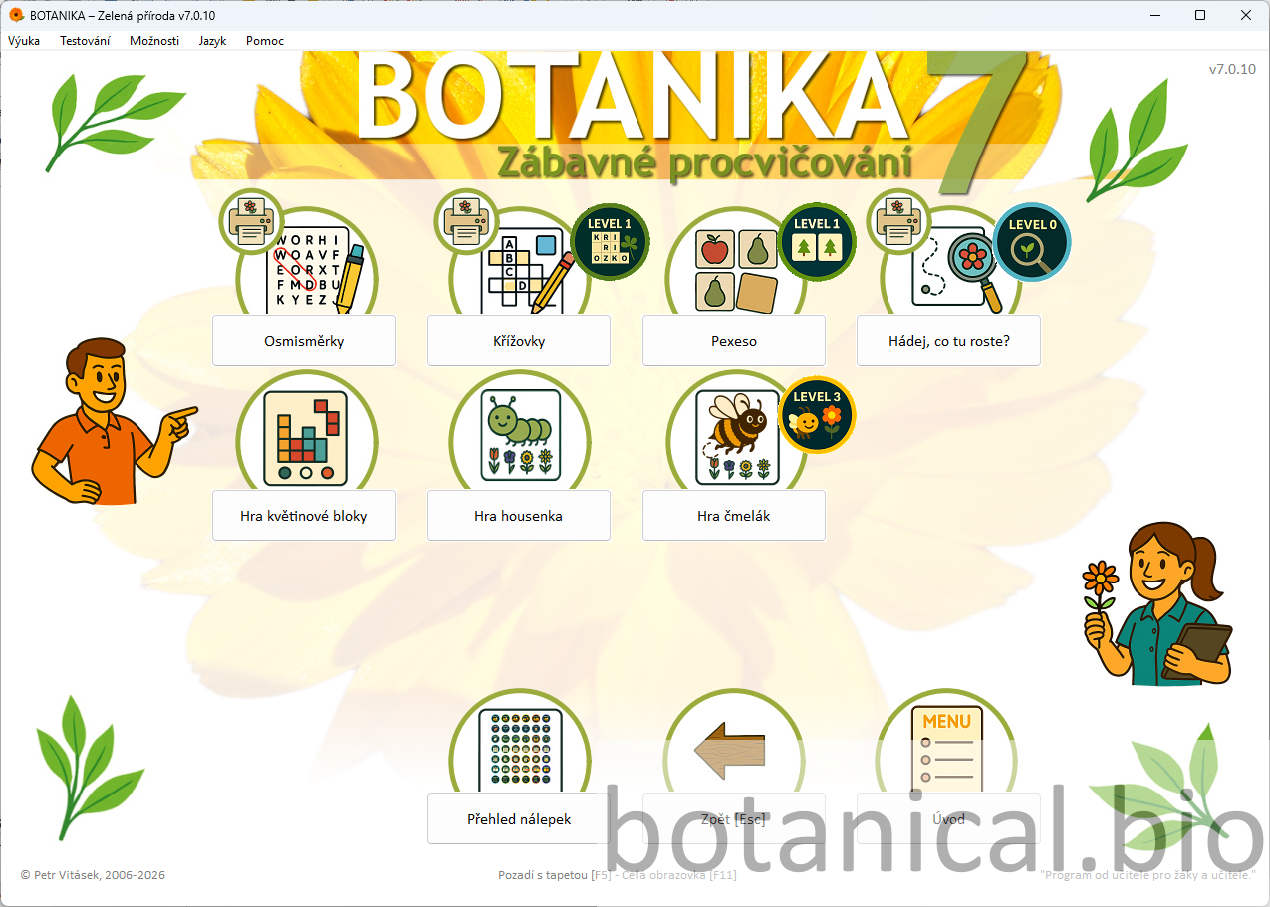
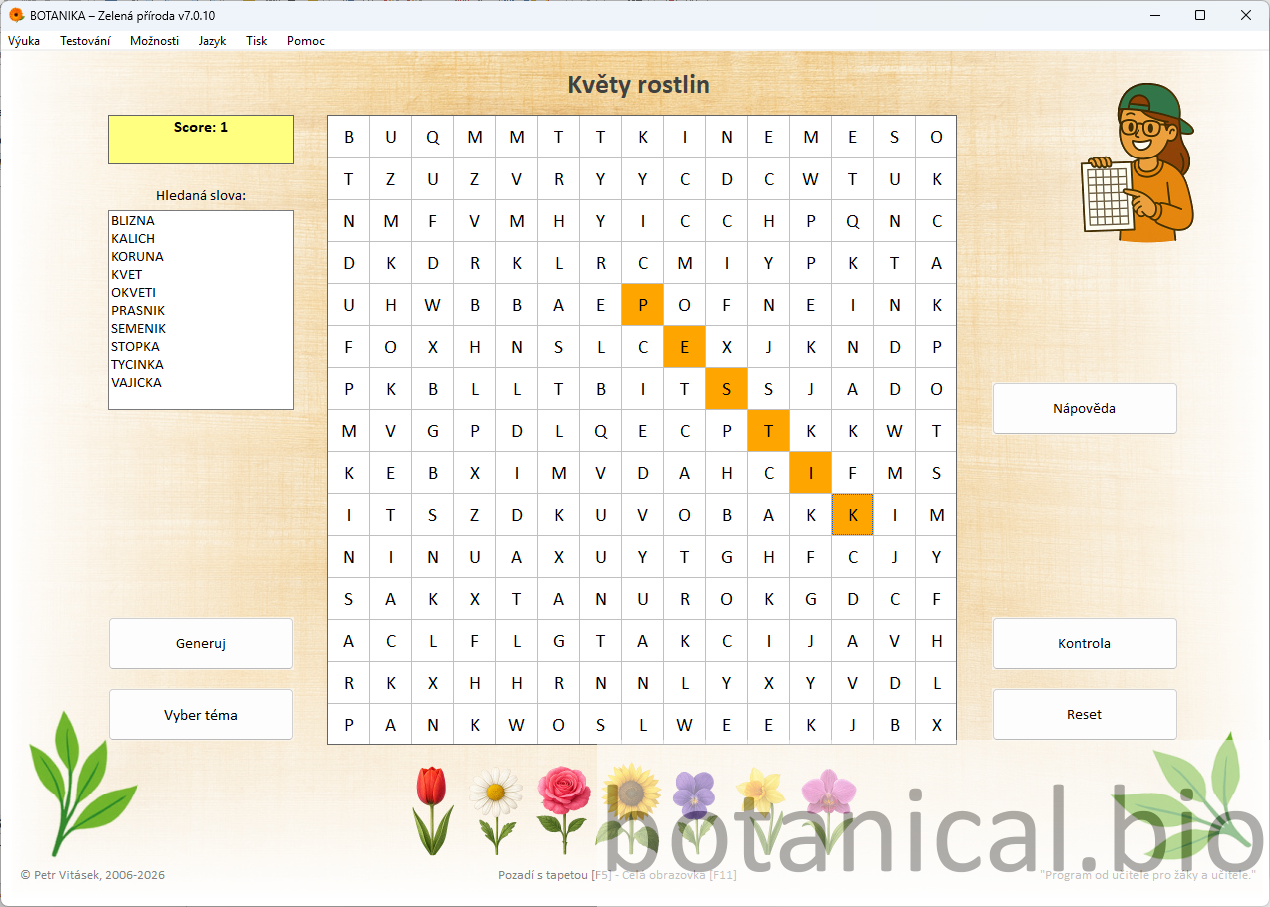
Students reinforce terminology through interactive activities. The teacher can generate new tasks repeatedly to ensure variability and prevent mechanical memorisation.

  • selecting an activity
  • completing the task
  • sharing results
Questions:
• Which terms did you find?
• Which were the most difficult?
Option A: Whole-class activity.
Option B: Independent work.
+ Advanced: Students solve additional variations or multiple rounds of the activity.
– Support: Use a simpler version and shorten the activity.
Activities overview.
Word search activity.
Crossword activity.
35–43 min Assessment

Knowledge check

Students connect their understanding of terminology with visual recognition and identify parts of a flower in context.

  • matching labels to flower parts
  • using colour cues for orientation
  • discussing and explaining mistakes
Questions:
• Where is the stigma?
• What forms the calyx?
Option A: Whole-class work.
Option B: Individual work.
+ Advanced: Students complete another test variation.
– Support: Solve the test together step by step.
Knowledge test.
43–45 min Conclusion

Summary and reflection

Summary of the lesson and reflection. The topic can be further developed in the next lesson, for example by focusing on pollination or fruit formation.

  • summarising key concepts
  • reflection
Questions:
• What did you learn today?
• What was most difficult?
Option A: Discussion.
Option B: Written reflection.
+ Advanced: Extend the topic further.
– Support: Focus on basic concepts.

Tips

Combination of teaching methods

Alternate between explanation, questions, and activities.

Real-life examples

Use real flowers whenever possible.

Task generation

Word searches and crosswords can be generated repeatedly.

Extension through independent research

Faster learners can search for answers to selected questions or tasks online. Encourage them to compare information from multiple sources and formulate answers in their own words.

Using AI for concept explanation

Students can use artificial intelligence to explain selected terms (e.g. stamen, pistil, pollination). They should then reformulate the explanation in their own words, as if teaching a younger student.

Laboratory observation of a flower

If available, use a magnifying glass or microscope to observe real flowers (e.g. tulip, lily, rapeseed). Students identify parts of the flower and compare them with the diagram in the Botanika application.

Benefits

Comprehensive learning

Theory, questions, interactive activities, and testing are integrated in a single environment.

Higher student engagement

Visual content and interactive elements encourage active student participation throughout the lesson.

Flexible use

The methodology supports both whole-class teaching and independent student work.

Try Botanika

The Botanika – Green Nature application makes it easy to clearly explain the structure of a flower, actively engage students with key concepts, and connect explanation, practice, and assessment without complex preparation.